

Verifying the takeoff — scale, detections, geometry
How do I confirm the scale and approve what the takeoff detected?
After upload, Measure is where you confirm scale and approve what the takeoff detected before pricing.
What to watch for
- The Measure tabs are the workflow slots the server owns: Framing, Elevation, Cross Section, Roof, Bracing, plus a Specialist group when those slots apply. They are not the internal page labels floor / roof / sections / elevations.
- On Roof, the first step is labelled External. The bulk button for that step still reads Approve All Roof Outline — use the label you see on each control.
- Approvals stay locked until scale is confirmed on the sheet you are working.
- Which slots appear depends on job type (for example prenail does not show every Balance of House slot).
Permissions
Approving detections and drawing on Measure need the Estimator, Site Admin or Org Admin role. Approvers can open Measure and confirm framing inputs, but do not get the drawing and detection-approval controls.
1. Getting to Measure
Most of the time you do not go looking for it. You upload the plans, the job starts, and the app takes you straight to Measure on that job — that is the normal path, and it is covered at the end of Creating a job & uploading a plan set.
Use the left rail Jobs list (screen title Projects) for the other two reasons:
- Carrying on with a takeoff you started earlier. Open the job, then select Measure in the workflow breadcrumb.
- Checking a job that is already done. Same route; the approvals you made are still there.
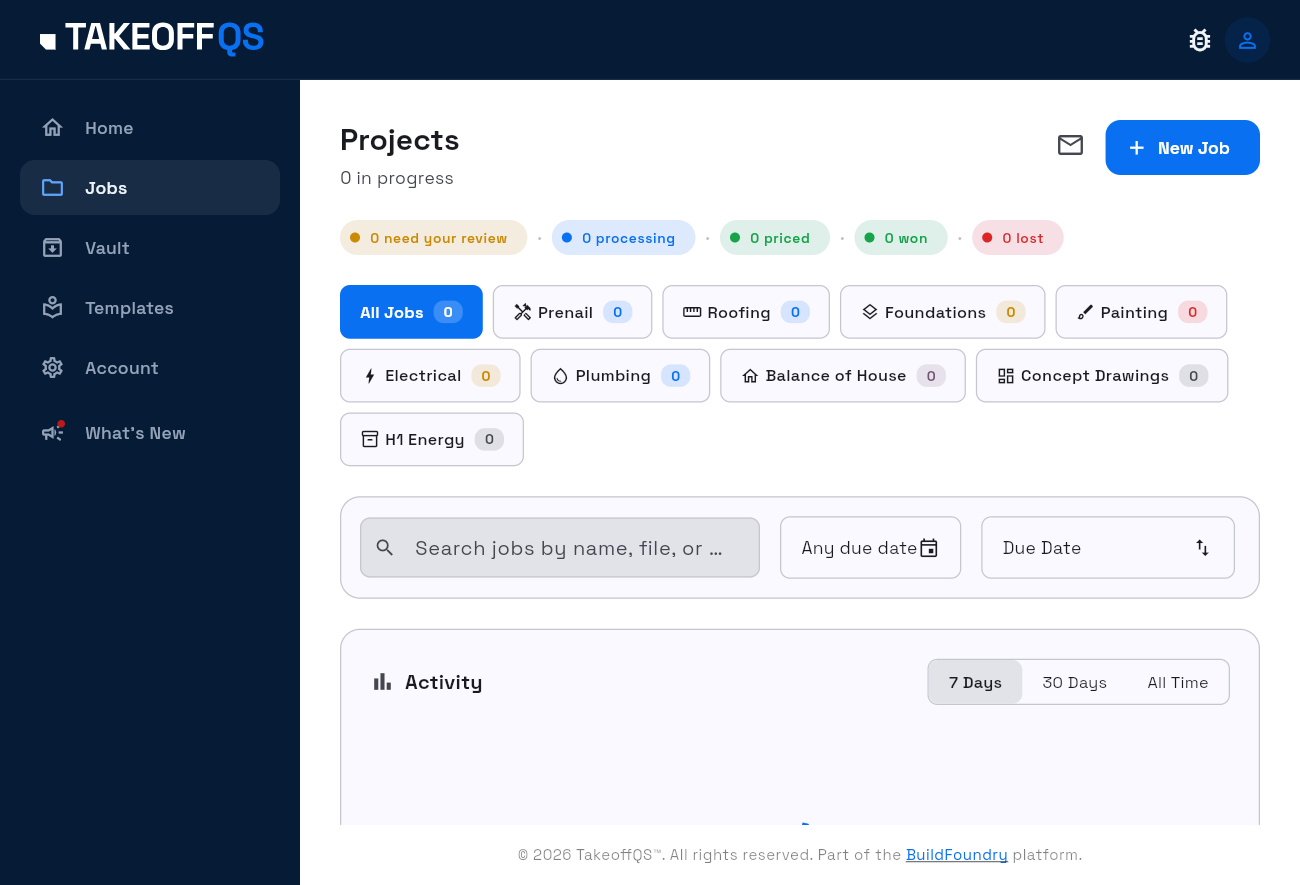
Success: Measure shows the workflow navigator. The line reads {slot} › {step} using server titles (for example Framing › External Walls).
How Measure is laid out
Measure keeps the plan at the centre of the screen, with two supporting panels:
- Open Measurements on the left to see approved takeoff values accumulate across the project.
- Use the centre canvas to review the plan and correct detected annotations.
- Use the right panel to confirm scale, review the active step's metrics, move through the workflow and approve completed measurements.
The left Measurements panel is a project summary. The right panel relates to the workflow step you are currently reviewing. You can collapse either panel when you need more canvas space.
2. Confirm scale before approving
Until scale is right, treat approvals as blocked.
- Read the scale banner. Common states:
- Verify Scale Before Approving — confirm the drawing scale before you approve.
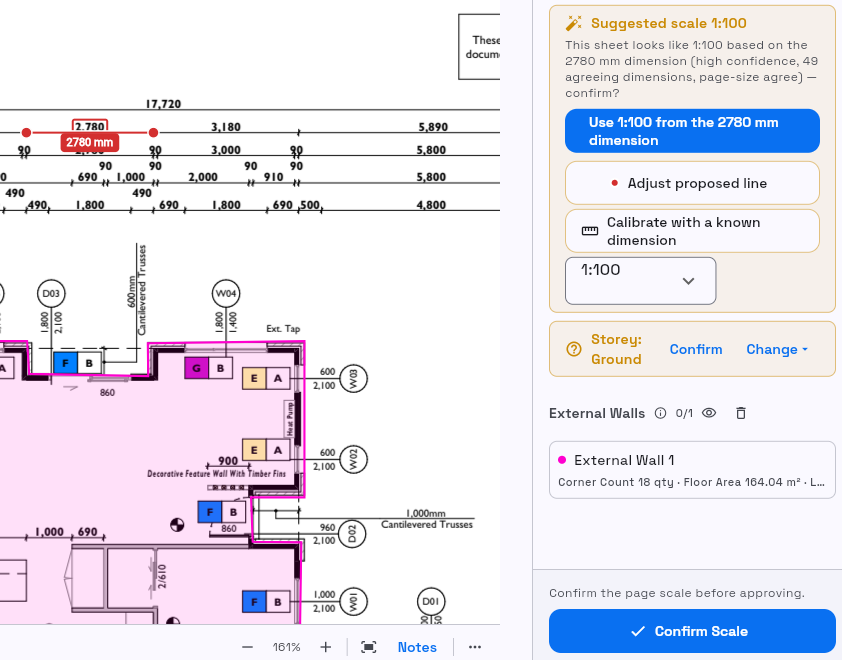
- Suggested scale 1:{N} — review the suggestion.
- Calibrated scale 1:{N} — confirm to unlock approvals.
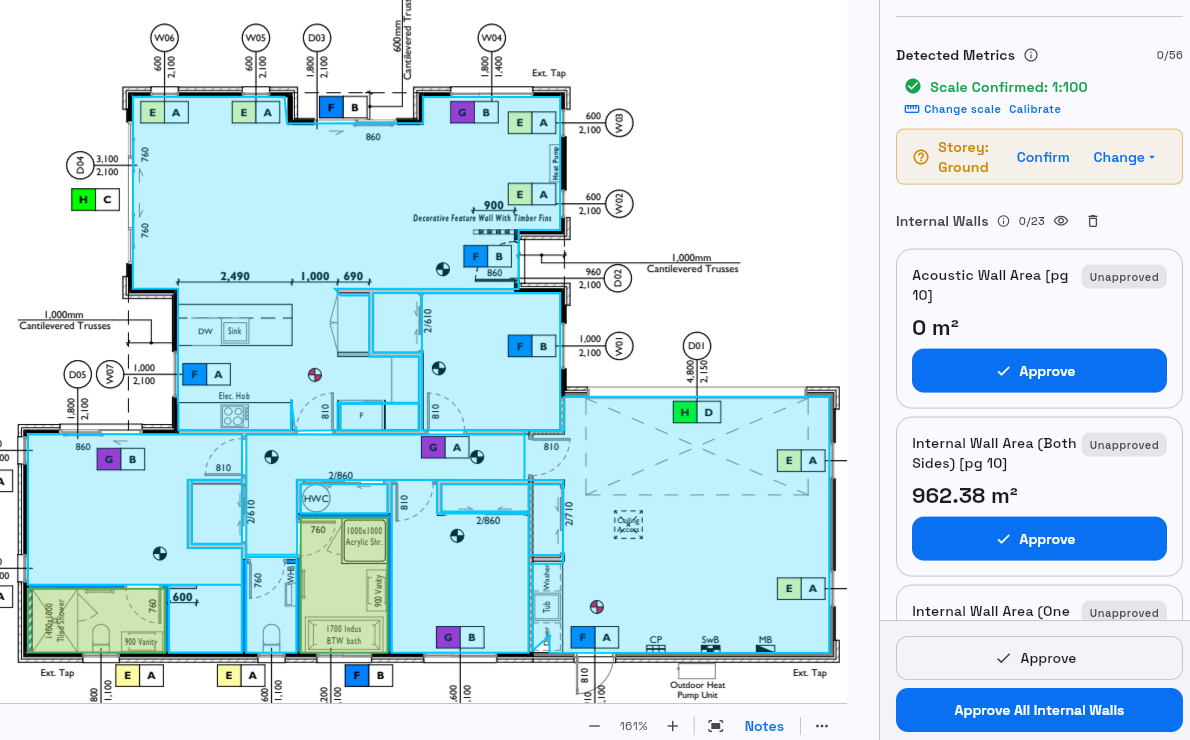
- Scale Confirmed: 1:{N} — ready to approve.
- Not to Scale — Measuring Not Recommended — only measure if you calibrate deliberately.
- To set scale from a known length, use Calibrate (toolbar or banner), click two points on the drawing, then apply the real dimension.
- Select Confirm Scale in the footer when the banner shows a scale ready to accept.
Success: the banner shows Scale Confirmed: 1:{N}. You can Change scale later if needed.
3. Move around the drawing
Before you can judge a detection you have to be able to see it. Zoom and pan do not change anything on the takeoff, so use them freely.
| To do this | Default |
|---|---|
| Zoom in / out | Ctrl + / Ctrl − (⌘ on a Mac) |
| Back to the whole sheet | Ctrl 0 |
| Pan while zoomed in | Click and drag the drawing |
| Pan at any time | Hold Space, then click and drag |
| Pan with the wheel | Scroll |
| Next / previous sheet | Page Down / Page Up |
These are the shipped defaults and every one of them can be rebound, so if a key does nothing, open the shortcuts sheet with ? (Shift + /) — that sheet shows what your account is actually bound to, and it is the honest answer, not this table.
4. Tidy up the annotations
The takeoff draws what it thinks it found. Make each annotation match the drawing before approving it.
Follow Drawing and editing annotations for the exact controls. It covers vertices, full-edge movement, whole-shape movement, missing annotations, cladding groups and custom measurements.
Success: each shape follows the drawing and the right-rail measurements reflect the corrected geometry.
5. Work each step: review, then approve
-
Select a slot (for example Framing).
-
Open the first step (for example External Walls).
-
Review detections on the canvas and in the rail metrics list, and fix any that are wrong with Drawing and editing annotations.
-
Use the bulk action when the whole section looks right — labels come from the server, for example Approve All External Walls.
-
Or approve items one by one with Approve.
-
When the footer offers navigation, use Proceed to {next step} (for example Proceed to Internal Walls), or Next: {Slot} {n} for multi-page slots.
Approving says this is correct, so it is the last thing you do on a step, not the first.
Why these checks matter
Correct geometry is important, but some measurements also drive later material calculations:
- Windows and openings: check the opening dimensions as well as their position. Where the template uses them, these measurements can affect quantities for associated components such as flashings, scribers and cavity closers.
- Cross sections: wall heights are measured from the cross-section sheets and may be used by formulas that depend on height. Confirm the cross-section scale before approving them.
- Hidden cladding: some cladding cannot be confirmed from the elevations alone. When Cross-check hidden cladding appears, use Pop out to open the framing plan with the hidden runs highlighted. Compare the assumed areas before approving.
- Roof catchments: review the outline and pitch for every catchment. If the plan does not state a pitch, TakeoffQS may show an assumed value based on the organisation default or another catchment. Override it when that value does not match the plan.
Approving a measurement confirms that it is ready to feed the following Materials and Pricing stages.
Roof: External vs Approve All Roof Outline
- Open the Roof slot.
- Select the first step External.
- When the roof outline detections are correct, select Approve All Roof Outline (not a button labelled “Approve All External”).
Later Roof steps use their own titles (Catchments, Valleys, Gable Ends, Hips, Soffit, Strip Bracing, Raftered Area, depending on job type).
Skip a step
If a step truly has nothing to take off:
- Select Skip (or a specialised skip label such as No strip braces — continue when the server provides one).
- Confirm Skip this step? with Skip.
You can return to a skipped step later.
6. Finish Measure and continue the job
When the workflow is complete for this job type, the footer primary action is server-owned. Common terminals:
- Continue to Materials — materials extraction is on for the job.
- Continue to Pricing — materials path is off.
- Continue to Framing Logic — prenail framing path.
- Continue to Assessment — H1 / assessment path.
Success: the breadcrumb moves to the next stage (Materials, Pricing, and so on).
When Continue to Materials appears, use Materials as a review checkpoint before pricing. Approved takeoff values flow through the job's BOQ template and formulas to calculate product quantities.